The first project we had to complete for Introduction to Mechanical Design & Engineering was to create a biologically inspired, time delayed hopping device.
The task seemed simple at first, but we were restricted to only using the items in this box.
In addition to these restrictions, I also set a personal design goal of creating a device that was smaller than the size of my hand.
The Globular Springtail Bug:
Its unique catapult-like locomotion seemed simple to replicate, which was important if I wanted to make my final device as small as possible.
Creating a Jumping Mechanism
Going into this, I knew making the device jump wouldn’t be the hard part. I began by drawing some initial sketches of a jumping mechanism. The snapping motion of a mousetrap was my main inspiration. After I had a general idea, I remade my design in Onshape to be laser cut and assembled:
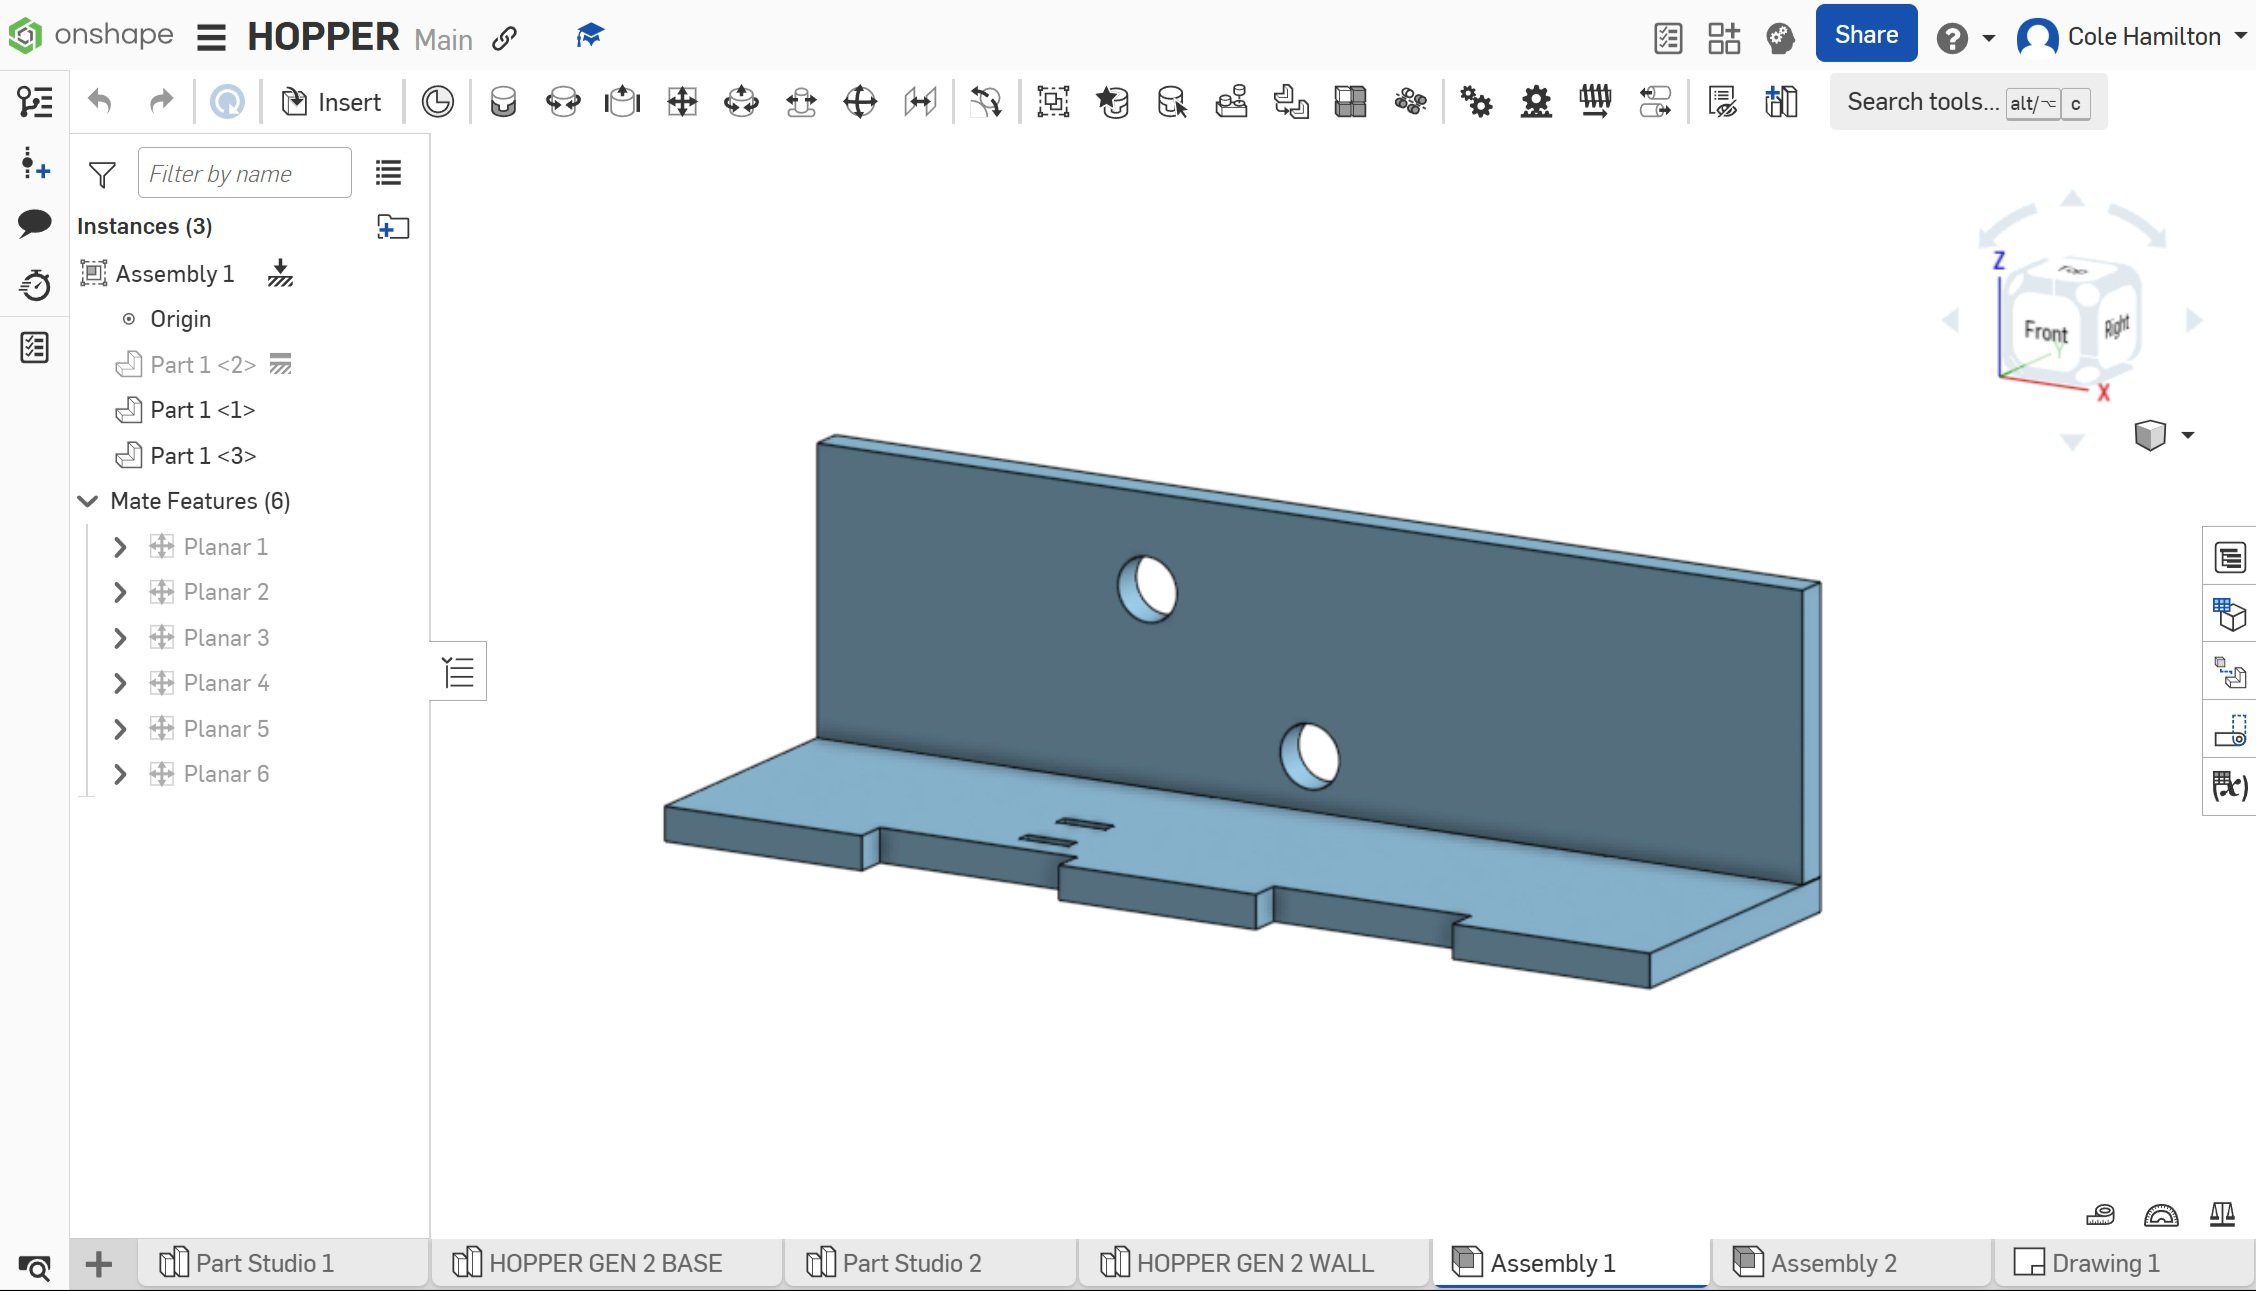
Onshape Assembly

Onshape Drawing
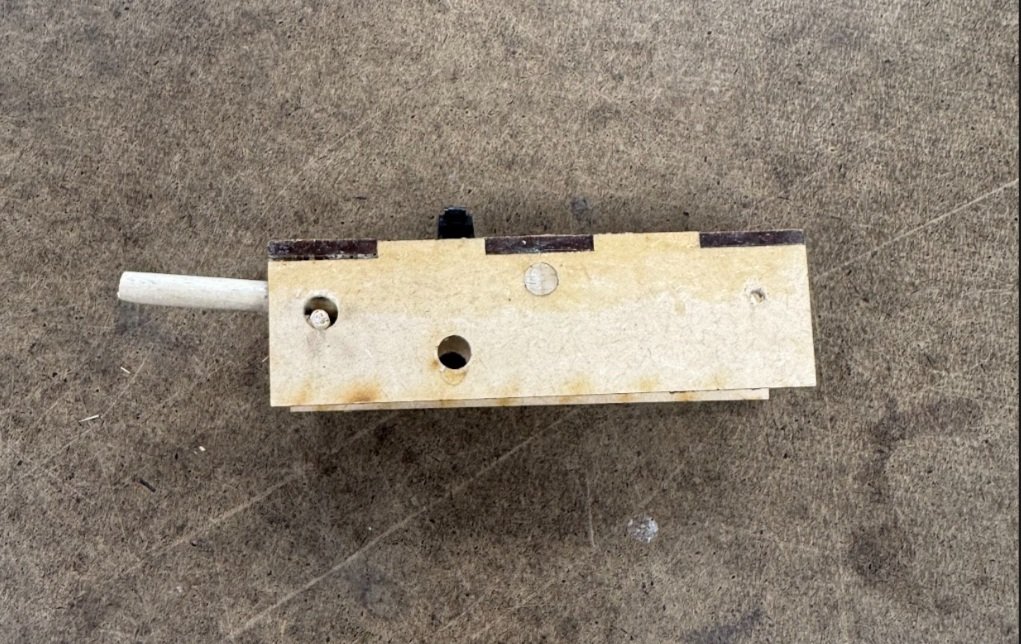
First Prototype
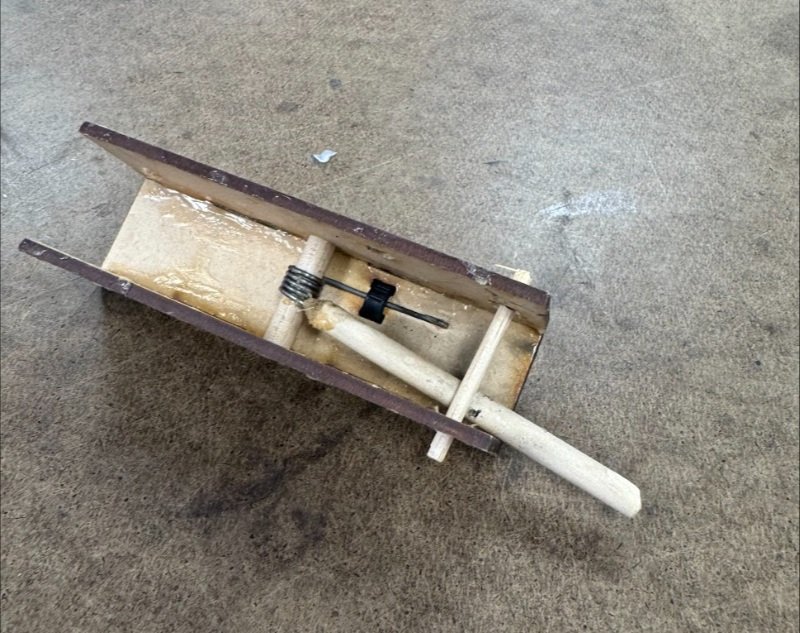
First Prototype (Underside)
The first prototype jumped when the ziptie/latch was removed, and now I just had to automate it…
My Second Prototype
I decided to use the rocket igniter included in the kit to melt through the latch, which would then activate the jump. To finish, all I needed to do was find a material that would take at least 8 seconds to melt through to fulfill the delay requirement. Here is some media documenting that process.

Lasered parts (Prototype 2)
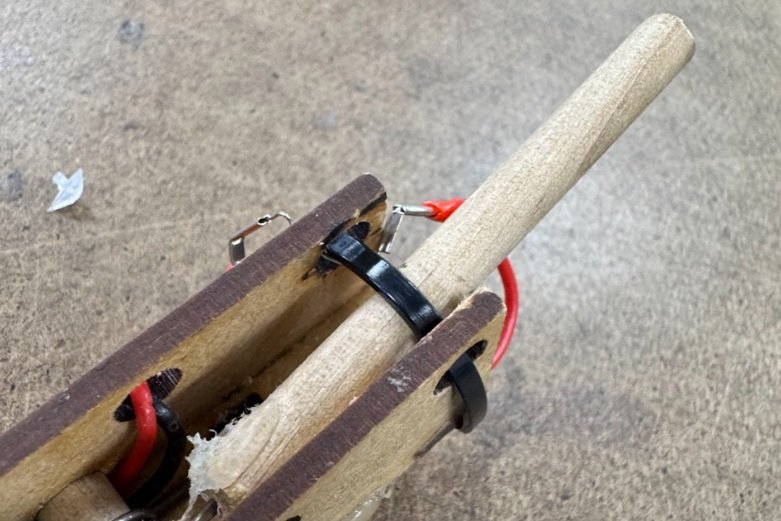
Latch close-up (zip-tie)
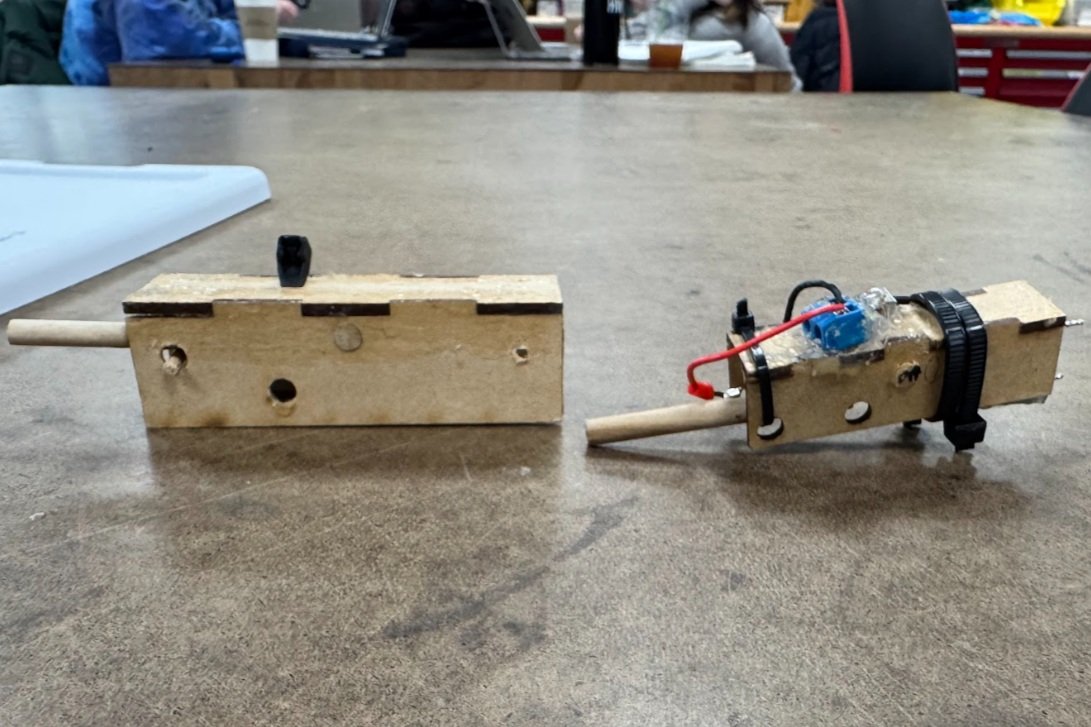
Size comparison of prototypes
Creating a Timing Mechanism
I wanted to create a delay by finding a material that the rocket igniter took at least 8 seconds to burn through however, I kept running into the same set of problems: the material being too thin and burning in a time shorter than 8 seconds, the material being too thick and not burning at all. To combat these issues, I spent the majority of my time on this project tweaking: the materials used for the latch, the amount of energy held by the super-capacitor, and the positioning of the rocket igniter on the latch material. I kept changing these in a trial-and-error process. The video above shows just a few of the literal hundred videos I have documenting different configurations.
Latch Materials I Tested:
Cloth
Balloons
Zipties (Small & Large)
Rubber Hose
Fishing Line
Dowels
Hot Glue
Seasons changed, Hopper Day came and…
…in all honesty, I didn’t end this project in the best way. I was so caught up in finding the right material to use as a fuse that I didn’t even consider using another jumping method. Spring break came, and I got super busy, and before I knew it, it was Hopper Day, the day where everyone shows off their jumping devices. I, not having touched my hopper in two weeks, charged it up and placed it down on the table to show my classmates…
Where I Went Wrong
I never did find that mystery material to use for the latch on my hopper.
I think the main lesson learned here is not to put all my eggs into one basket. Or at the very least, instead of just using trial and error, using math to find the most optimal solution. If I could go back and redo the hopper project, I would also try to be progressive with my goals. A couple of my friends who had already taken IDEA 170 told me about their hopper and how they used a rolling ball as a timing mechanism. In my mind, using an idea that was already proven to work felt like cheating. While this did force me to try something new which I’m thankful for, it did limit my options, and prevented me from working with certain materials. Who knows, I could have built upon the rolling ball timer if I hadn’t avoided it so much.
Calculations & Random Bits
Finding the Maximum Height
Even though my hopper didn’t hop on hopper day, by calculating the torque of the torsion spring I used for my hopper under different amounts of weight, we can still estimate the maximum height it could have jumped. The calculations for this are to the left.
Thank you for your time!


